Running trainers share their tips on building speed for both short and significant distances.
Speed is critical to running — and not with regards to your morning run or running for the transport when you're behind schedule for work.
"It doesn't make any difference whether you need to be an incredible sprinter or simply incorporate running as a feature of your wellness," says mentor Pete Magill, creator of SpeedRunner. "Speed is at the essence of each and every distance, whether you're preparing for a 5K or a long distance race."
That is on the grounds that legs that move quickly and productively are legs that have gotten through speed preparing. Running has been displayed to construct muscle, further develop lower leg strength, and lift bone thickness. It adjusts glucose and chemical profiles, consumes fat, and increments vigorous limit with regards to long, slow endeavors of high-intensity games.
Additionally, running quicker can assist you with keeping away from injury since you are moving all the more proficiently, says Magill. It can likewise assist you with establishing another individual record, which isn't a wellness prerequisite however can inspire numerous sprinters.
Speed exercises frequently scares the people who stress over wounds or really like to stay in their running safe place. In any case, Magill contends that we should reevaluate our mentality about speed.
"The word 'speed' alarms individuals," Magill says. "Yet, what we're truly referring to is simply differed pace work." He states that it's gainful for all sprinters to prepare at different rates no matter what their objectives or skill.
"For amateurs, the principal objective ought to be simply to finish the distance," makes sense of Rebekah Mayer, Life Time Run public program chief. "However, even all along, span preparing can be extremely useful."
Magill and Mayer share their guidance for building speed securely and proficiently.
Running Technique Tips
:max_bytes(150000):strip_icc()/tips-for-proper-running-form-4020227-2165-ef4e9ba9dadb4f6c95529a14ae035912.jpg)
1) Build a Strong Foundation
To get rapid, you first need major areas of strength for a, base. Magill suggests that sprinters with no speed foundation follow an opposition preparing program a few times per week for a very long time prior to endeavoring testing running exercises, for example, slope rehashes and runs.
"In the event that you can reinforce your muscles and connective tissue before you set them to work, you're far on the ball," he says.
For opposition preparing, center around lower-body and center activities, for example, squats, step-ups, single-leg deadlifts, Nordic hamstring twists, unusual heel drops, and board varieties. (See Opposition Preparing Activities beneath for bit by bit directions for these activities.)
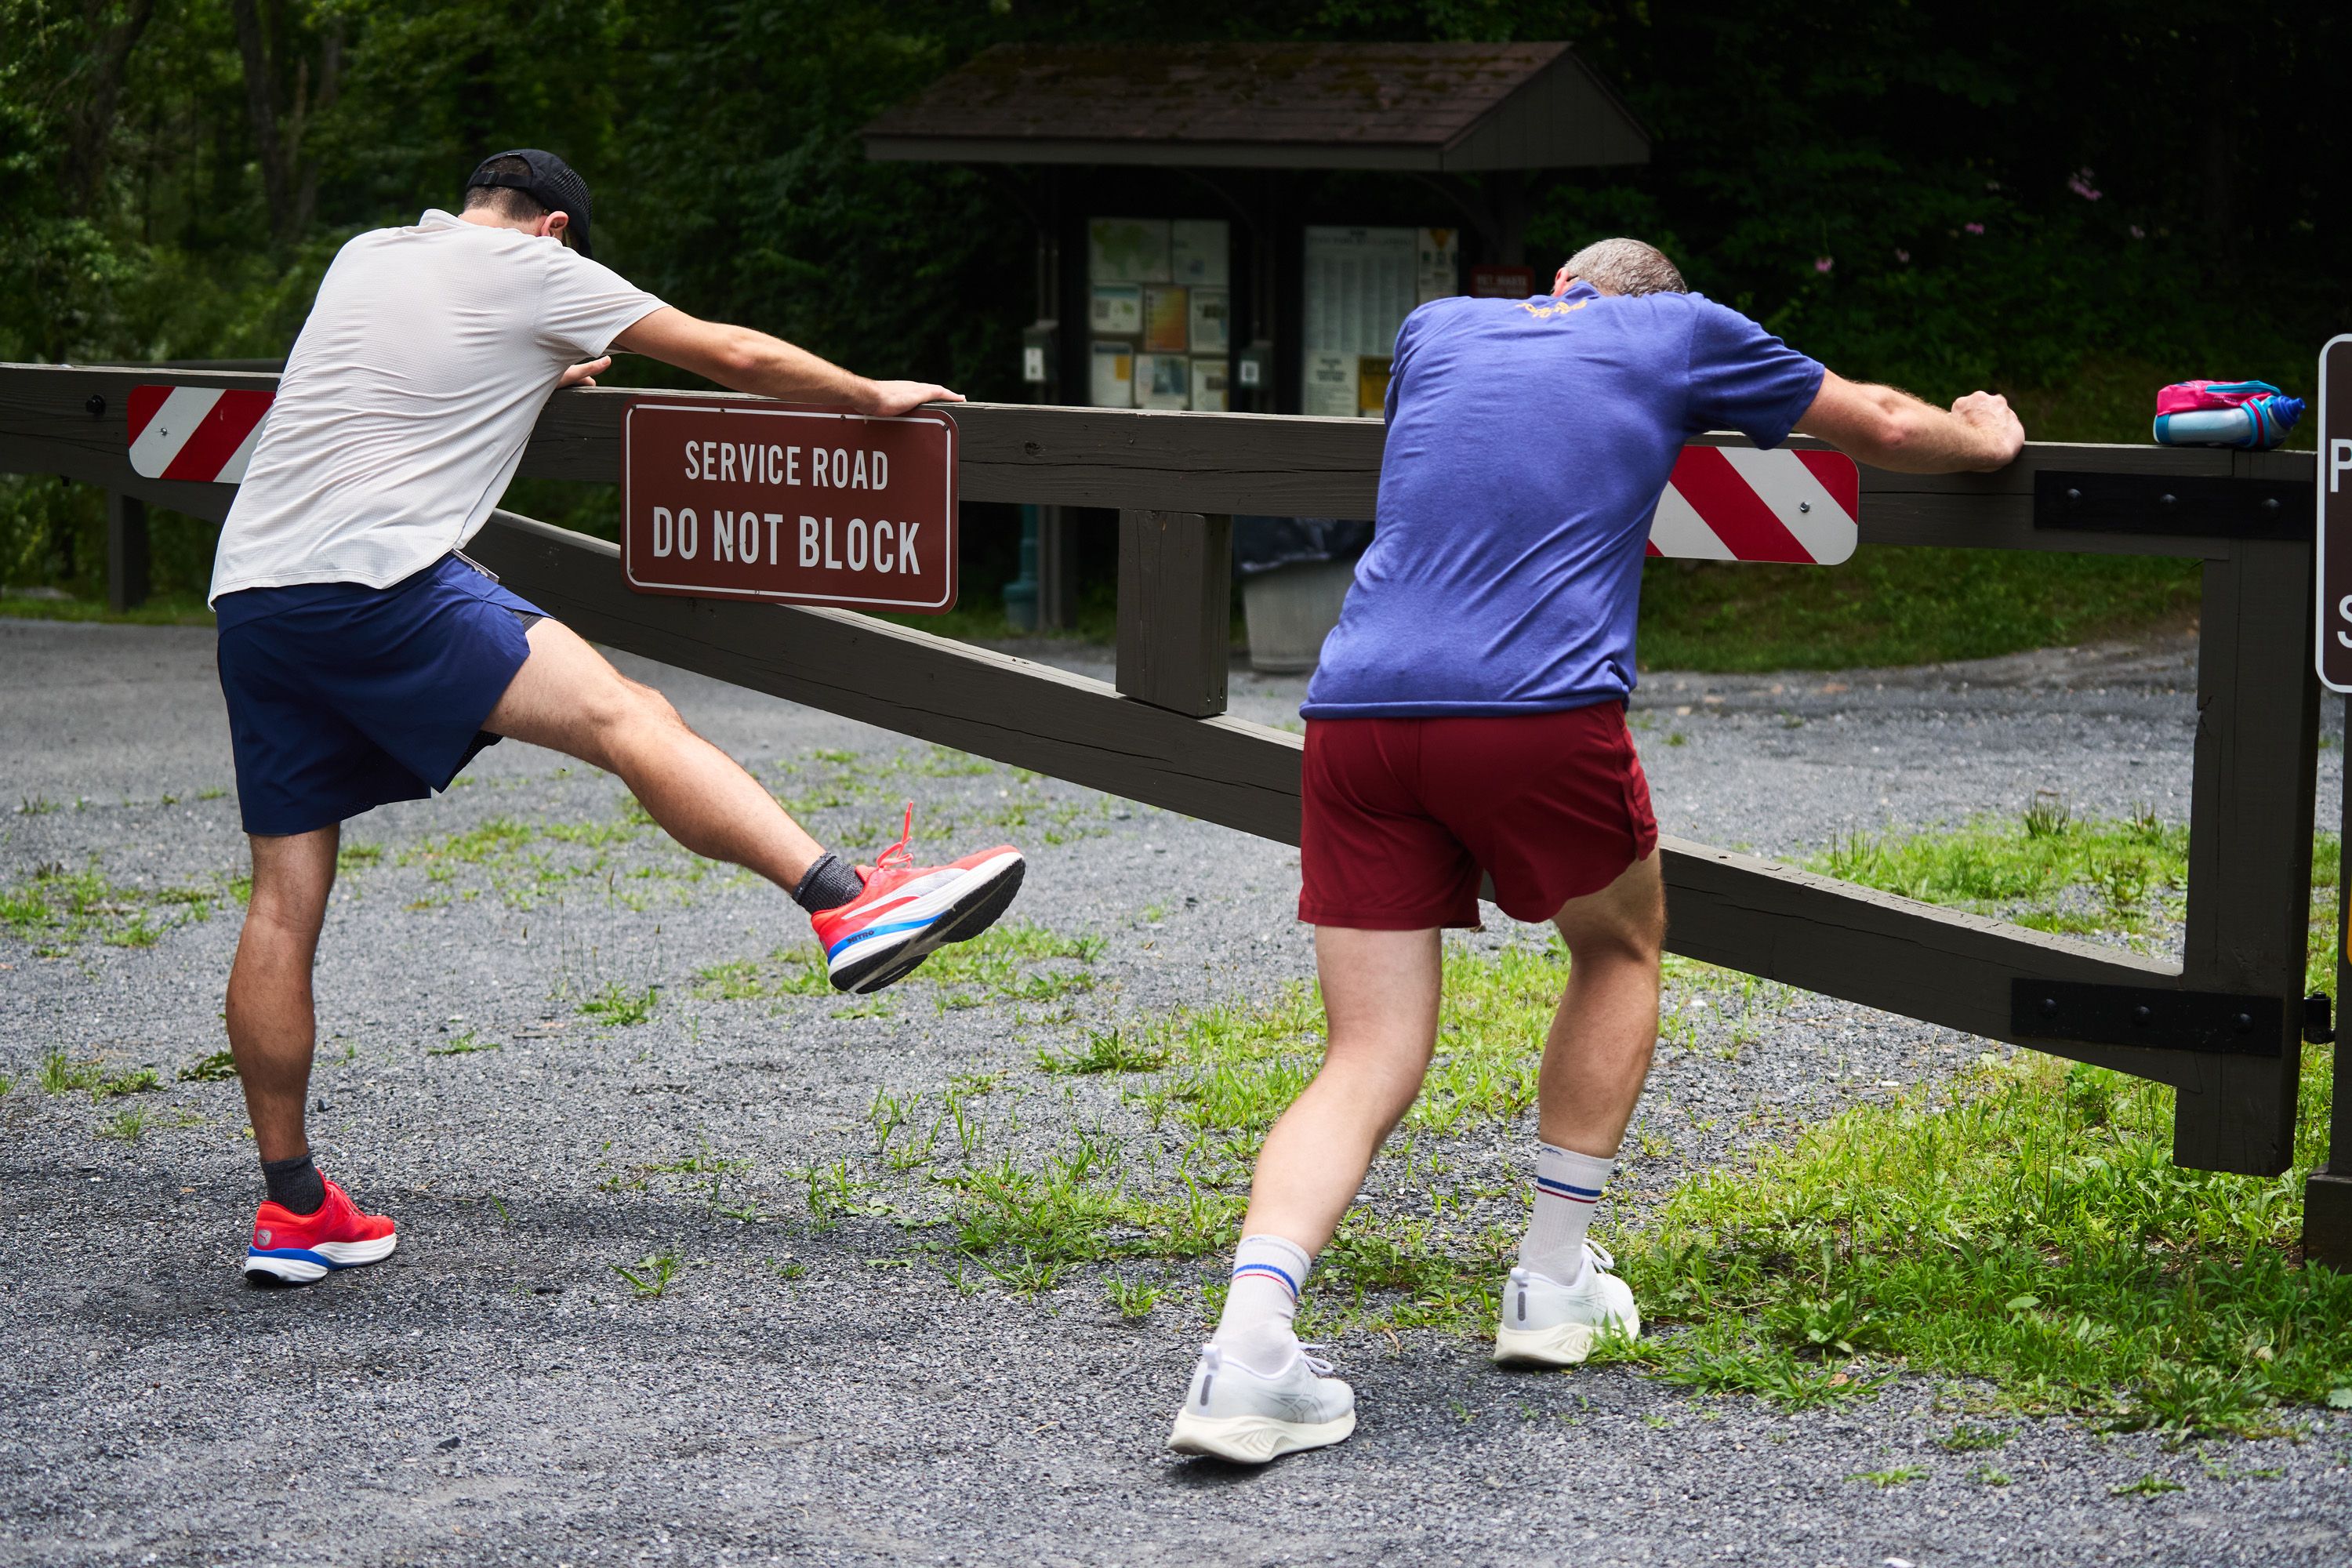
2) Improve Your Stride

A big part of the power from each step comes from versatile energy, put away in connective tissue when you land and delivered when your foot leaves the ground, Magill makes sense of. In this way, it's significant not exclusively to reinforce endures conventional opposition preparing, yet in addition to prepare your connective tissue — including ligaments, tendons, and sash — and sensory system.
Activities and drills that include a plyometric part, for example, bouncing, hopping, and skipping (see drill 2 beneath), assist your muscles and sensory system with upgrading this versatile backlash when you run.
3) Respect Recovery
When you integrate speed preparing into your daily practice, focusing on recovery is doubly significant. Mayer suggests switching back and forth between hard and fast stretch meetings and long, slow endeavors — with focused energy stir making up around 20% of your preparation and low-power runs forming the excess 80%.
This approach is classified "captivated preparing" and won't just assist you with making upgrades yet in addition give your muscles and sensory system time to recuperate.
She prescribes two meetings seven days devoted to shifted speed or speed preparing, with no less than 48 hours of recuperation between exercises.
Recuperation is a two-stage process, adds Magill. "To start with, you're modifying and reestablishing tissue that was harmed. Then comes supercompensation, a stage in which you're back to benchmark, however at a level above where you were before the underlying exercise."
2 Running Drills
Drill 1: Straights and Curves
Run this drill on an open air, quarter-mile track. Fledglings can begin with two to four laps; further developed sprinters can move gradually up to two miles (eight laps).
Warm up with a mile of simple running.
Then, beginning at one corner of the track, run the length of the main straight or long piece of the track.
At the point when you come to the main bend, run or walk if important. Keep shifting back and forth between running the straights and strolling the bends.
Drill 2: Skipping and Strides
Do this drill in an open space where you can run in an orderly fashion for no less than 20 yards. Further developed sprinters can stir up to 50 to 70 yards.
Skip to your endpoint.
Run with shifted steps to the endpoint: Take off with a short, fast step and progressively protract your step to speed up until you're running at a controlled high speed. Progressively delayed down as you arrive at your endpoint.
Walk gradually to get back to the beginning stage.
Rehash this drill with high skipping (intending to get higher going with each skip) and afterward with long skipping (expecting to cover however much distance as could be expected with each skip).
Obstruction Preparing Activities
Squat
Stand with feet about hip width separated and established immovably on the ground, hands before you or on your hips.
Support your center and, with control, twist your knees and hips to hunch down until your thighs are about lined up with the ground.
Press through your feet to stand up. Crush your glutes at the top to accomplish a full lockout.
Rehash for 10 to 12 reps. Add weight to make the development really testing.
Step Up
Confronting a container or step that is 6 to 15 inches high, lift your left foot off the ground and step on the crate.
Breathe out and connect with your center. Then pass through your passed on heel to stand up on the case, drawing your right knee up to hip level. Breathe in.
Breathe out as you gradually switch the development, returning your right foot to the floor on a count of two.
Rehash multiple times on the left, then, at that point, switch sides.
Single-Leg Deadlift
Holding a free weight in your left hand, lift your passed by walking to remain on your right leg. Keep your right knee marginally bowed and your weight in the midfoot.
Push your right hip in reverse as you expand your left leg straightforwardly behind you. Keep a straight line from your shoulder on your left side foot. Bring down the hand weight toward the ground.
Drive your weight through your right midfoot and gradually present your passed on leg to get back to an upstanding position.
Tip: In the event that you find it hard to adjust, attempt this activity without the free weight. To get the advantages of contralateral stacking (adding protection from the arm inverse the functioning leg), stretch out your forgot about arm aside (without holding a weight) while remaining on your right foot.
Nordic Twist
Stoop on an activity mat and have a preparation accomplice hold your heels solidly.
Keep your body as straight as conceivable from knees to head. Gradually shift your weight forward, opposing gravity with your hamstrings and glutes.
Lower yourself as leisurely as could really be expected, getting yourself as you draw near to the floor (your completing position will look like the lower part of an on-the-knees pushup).
Drive over the floor barely to the point of getting your body rolling back toward vertical. All the while pull with your hamstrings and crush with your glutes until you return to the beginning position.
Keep your reps low from the start — around five for every set. Rehash for three to five sets.
Heel Drop

On a low step or control, stand ready of your right foot so the curve and impact point are hanging off the edge.
Loosen up your calf and let your heel drop toward the ground. Hold for 10 seconds.
Oppose by utilizing your lower leg muscles to raise your body 1 to 2 inches. Hold for six seconds.
Relax for five seconds.
Drop your heel down again until you feel a more profound stretch. Hold for 15 to 30 seconds. Switch sides.
Plank
Lying face-down, lift yourself up on your toes and either your hands or elbows, with a level lower back, drew in center, and shoulders from the ears.
Your body ought to frame a straight line from head to heels, with shoulders and hips square to the floor, regardless of which of the accompanying varieties you pick.
Hold for as long as 30 seconds, as long as you can keep up with amazing structure. (For additional varieties, visit "Siphon Up Your Board".)
(Attempt this 30-minute strength and running exercise that consolidates strength preparing and speedwork for a successful, proficient test.)